Free e-Learning sessions for baristas and café operators
We are excited to give you access to our e-learning platform that allows you to take comprehensive courses on your laptop or phone, at your own pace. With modular content, engaging videos, interactive animations, and helpful quizzes, you can now learn from anywhere, without having to visit us in London, Dublin, or Glasgow.
Our exceptional training delivery is now available online, and you can sign in to access our courses, including ‘Introduction to Coffee’ that contains 23 modules of essential barista know-how and ‘Brew Class’, a beginner’s guide to brewing. The best part is that the course is absolutely free. Join us online and take your first step towards mastering the art of coffee-making.
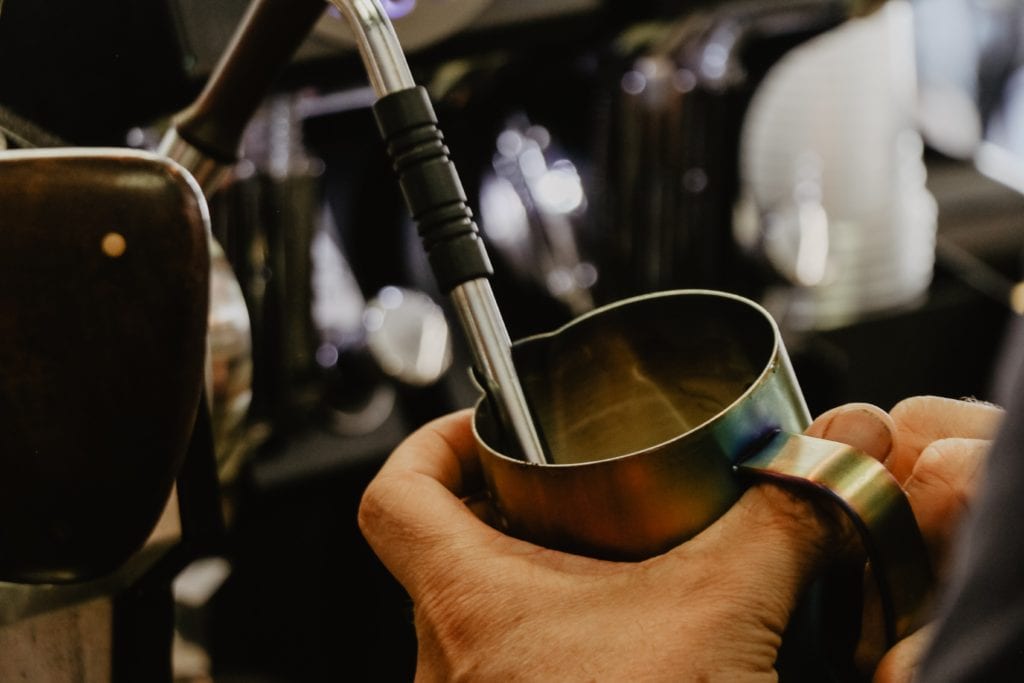
Online training videos for baristas
Loads of useful resources, how-to guides and tips and tricks to help you perfect your craft.
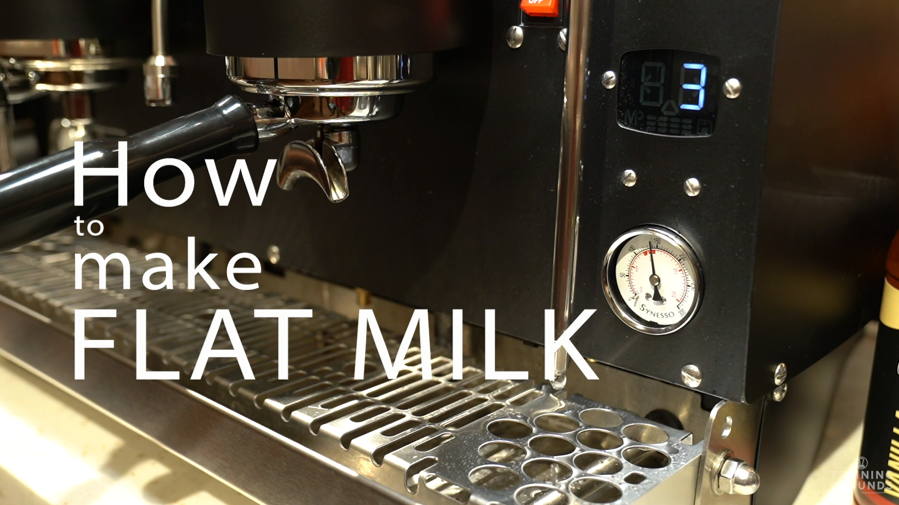
How to make flat milk

How to make a Flat White

How to make a Cortado
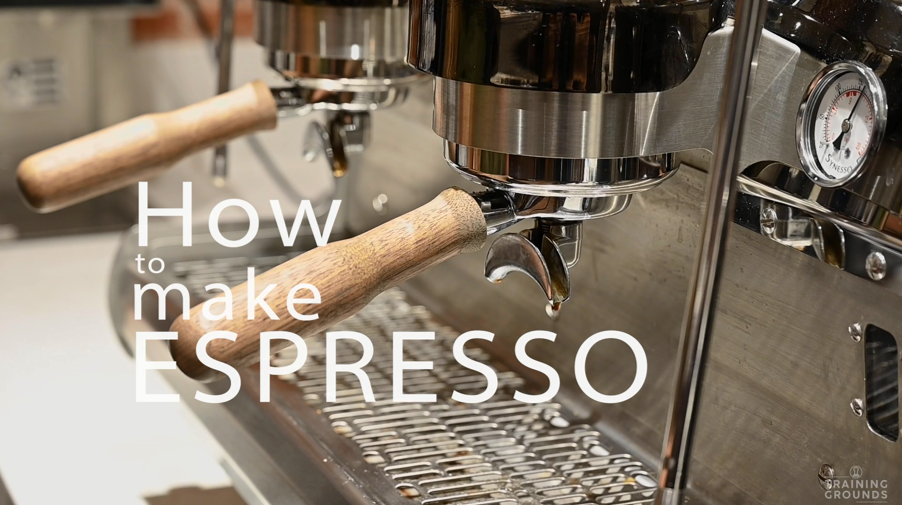
How to make espresso

How to make a Cappuccino
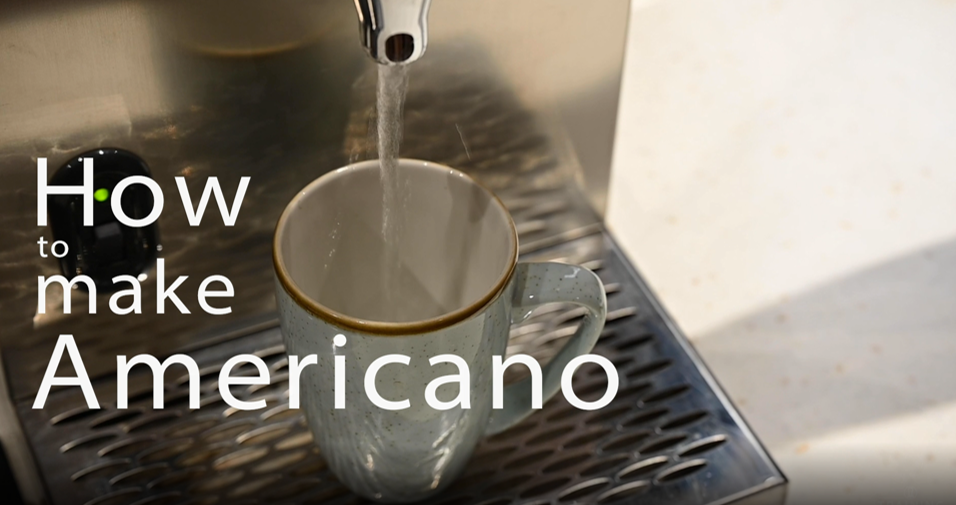
How to make an Americano
Prefer to learn at one of our campuses?
Looking to attend one of our upcoming training courses? You’re in luck! We have three training campuses located in Glasgow, Dublin, and London. So, whether you’re based in Scotland, Ireland, or England, you can easily join us in person and benefit from our expert training programs. We look forward to seeing you there!
CHAT TO OUR TEAM NOW